Articles are for relevant and timely content like news, press releases, or blog posts. Follow these steps to learn best practices for building articles.
Steps to build an article
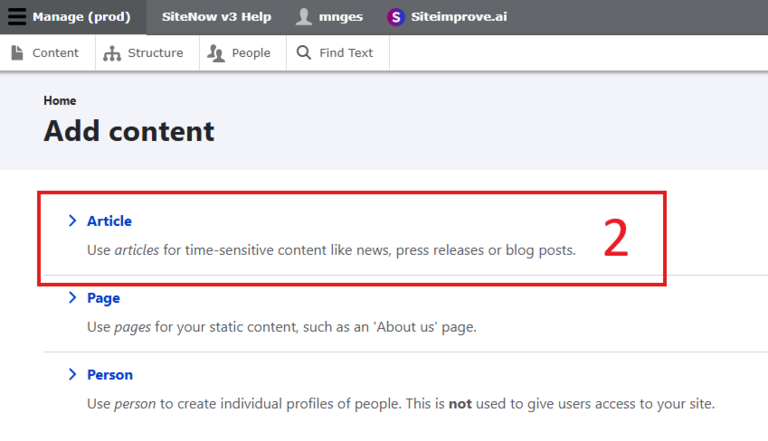
On the "Content" section, select the blue "Add content" button.

Of the options presented, select “Article.”
To the Title field, add your article title using sentence case.
If your article has a subtitle, you can add that to the Article Subhead field.
In the Summary field, write a short description of your article using 50 to 160 characters. Your summary will appear with your article on your site’s News page.
A summary is required for all articles and cannot be skipped.
Refer to this documentation to learn more about writing effective summaries for articles.

In the Body field, add the content of your article.
It is recommended to add your author information to the top of the Body field instead of using the Article Authors dropdown menu on the edit page.
If you include headings in your article, do not skip heading levels or use heading levels for decoration. Refer to the example article for a demonstration of proper heading hierarchy.
If you want to add images to your article, you can either add them to the body of your article or use an image gallery.

Once your article is complete, scroll to the bottom of the page and select the blue "Save" button.
These are the steps to creating a basic article. However, you can also add additional features to your article, such as a featured image, a link directly to the source button, and an image gallery, depending on your specific needs. See the following collection to learn how to add these features to your article.
Additional features
Featured image
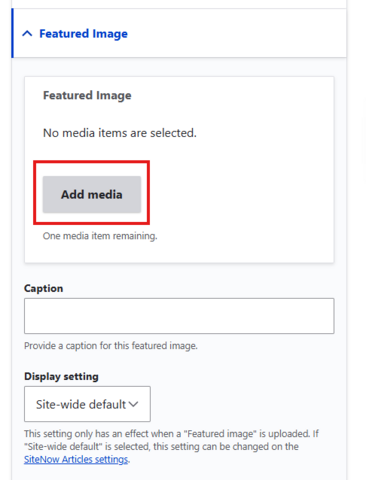
You can add a featured image to your article by going to the Featured Image dropdown in the right-hand menu. Select the “Add media” button, and then either select or upload the image you want to use.
By default, featured images will not be displayed on the article itself but will appear with your article on your site’s News page. You can change this using the "Display setting" drop-down, but it is recommended to leave it as the "Site-wide default."
Additionally, it is recommended that you use different featured images for each article to make it easier for users to differentiate articles.
Image gallery
If you have multiple images you want to display in your article, it may be better to use an image gallery instead of adding them to the body of the article. For example, if you’re writing an article about an event that happened, and you want to include multiple images of the event, the image gallery would be recommended.
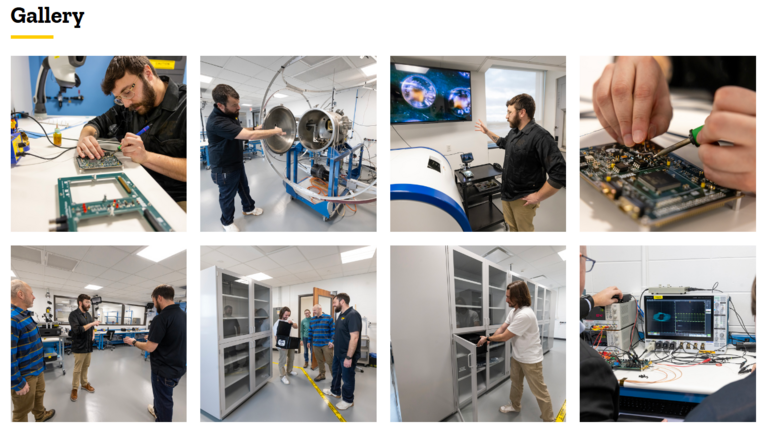
The image gallery displays multiple images at the bottom of the page. The images will be displayed in a grid of squares that users can click on to get displayed bigger.
To add an image gallery, go to the Gallery field and select the “Add media” button, and either select or upload the images you want to use.
Remember to add appropriate alternative text to each image and name the files properly.
Organization field
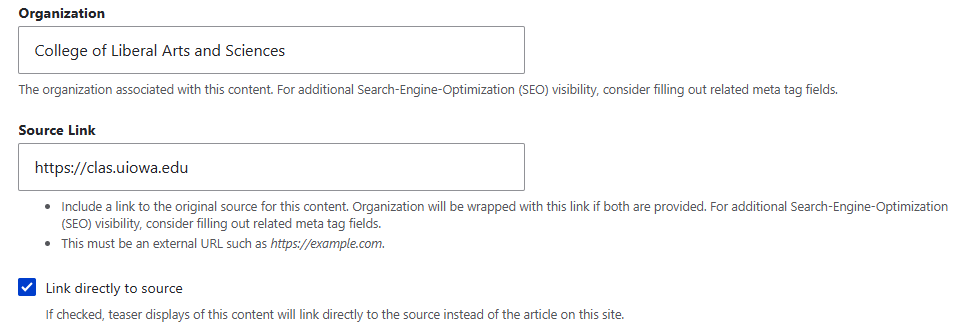
If another organization is associated with your content, add their name to the Organization field.
Source link and link directly to source
Use the Source Link field if the original source of your content originates from another site. If you have a long link or want your link to look cleaner, add the name of the source (i.e., site name, journal article title, etc.) to the Organization field. On your site's news page, the text you added to the Organization field will be wrapped with the Source Link.

If you want an article to lead to another site when clicked, add the link to the Source Link field and check the “Link directly to source" box underneath.
Additional support
Resources for additional learning
- Article content type from the OSC web team
- How to share the Iowa story using the article content type on your website from the OSC web team