There are many ways to incorporate vertical imagery on your pages. Follow these steps to learn how to display images on your site properly.
Note: When adding vertical or portrait images, only use the described on this page. Never add an image to a table, combine images into a collage, or use other methods to format the image. These approaches create accessibility and issues with the design on varying screen sizes.
Steps to display vertical images
- Images can be added to all pages either through a text area or the body field on the Edit page. Reference this documentation to add an image to a text area component or body.
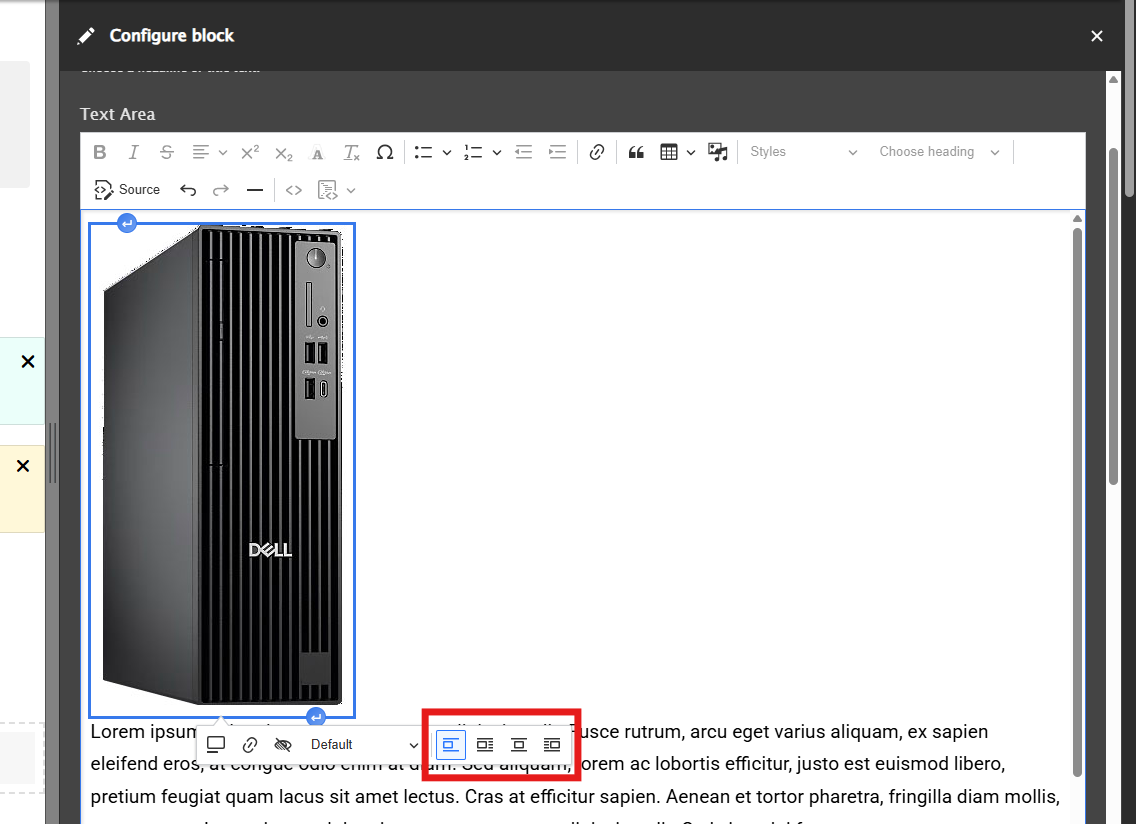
- Once your image is inserted, select your image to bring up the grey styling bar.
You can change the alignment of your image and wrap the text using the "Align left and wrap text" and "Align right and wrap text" options. By default, the alignment is set to "Break text."
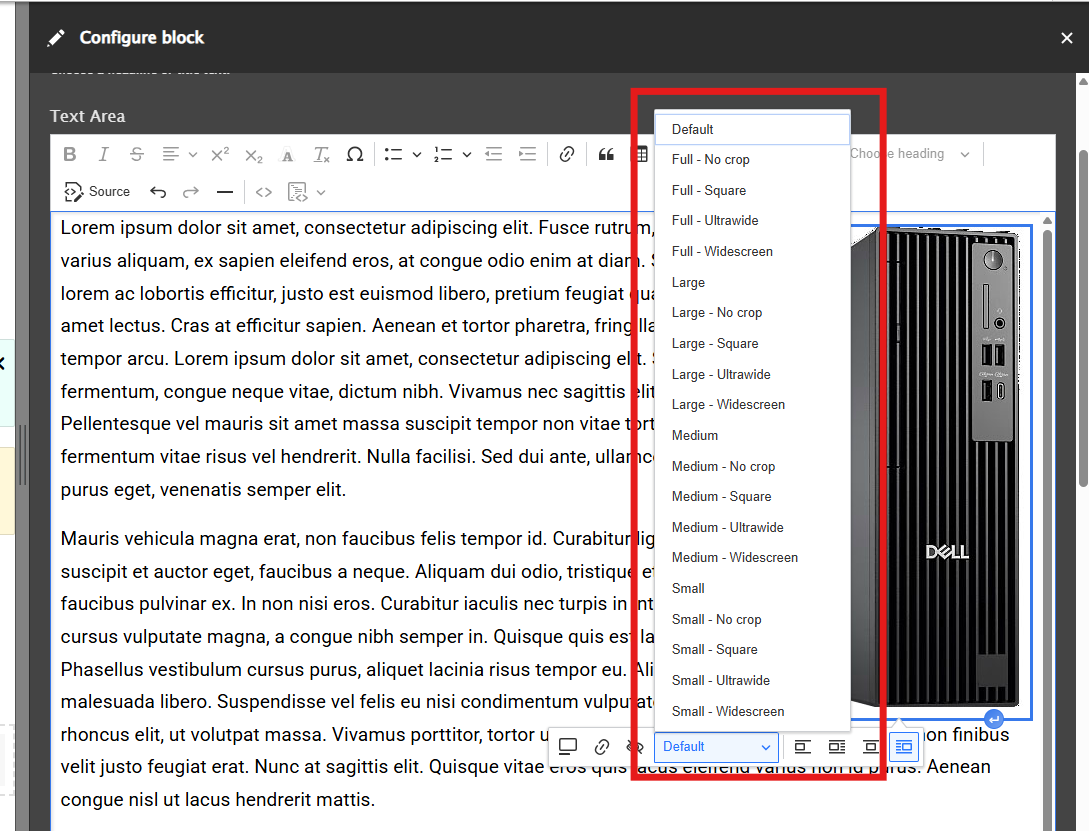
You can also change the size of your image using the dropdown menu on the grey styling bar, which will be set to "Default" when you first insert your image
- If a page has the Layout tab, then images can also be added to the page via the Image and Image Gallery components in the Layout Builder.
- The Image component has limited image formatting options, and Image Galleries should only be used when adding multiple images, so it's preferable to insert images using the text area or the body field.
- Tip: If you're using an Image component, you can add it to a section with 2 more columns and move it to the narrowest column (if the columns are not equal width) and select "No crop" from the media format drop-down to format your image.
- Select the blue "Save," "Update," or "Add block" button once you're done
Additional support
Resources for additional learning
- Image block from the OSC web team
- Images and files from the OSC web team
- Why image optimization matters for Iowa websites from the OSC web team
- Adding media files to your site (video) from the OSC web team
- Adding dynamic web images (video) from the OSC web team